Team 11: Martin, Darren, Lee and Jamie from York.
The eleventh quest of Series 3 was for the Chalice and lasted 47 minutes.

Level 1
Martin is submerged in water. A shark fin appears, which makes everyone panic slightly. Eventually, they get Martin to climb out.
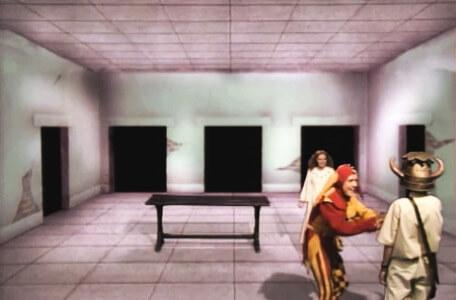
In the kitchen, Martin is about to pick up a pie when Motley stops them. It belongs to Grimwold the Ogre.
Motley is looking for fresh jokes, and is prepared to offer magic.
Martin: "Why did the punk cross the road? ... Because he was stapled to the chicken!"
Motley gifts the spell GHOST.
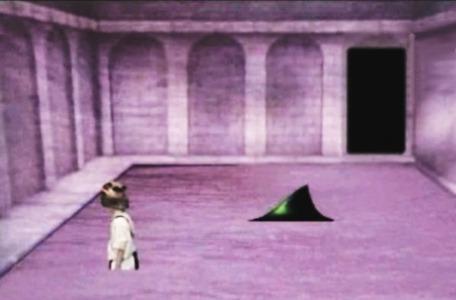
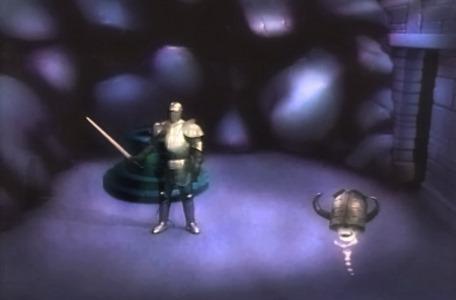
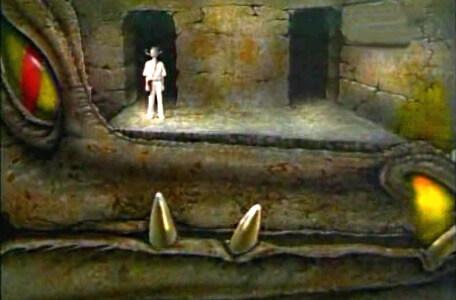
Level 1 clue room is guarded by Golgarach (score: 2). He tells Martin to leave the gold and offers him the 'first step'.
Martin takes the other two objects: a key and a bottle.
Into the Scarab Room. There's a cutaway as Martin stops right in the line of fire, but they escape.
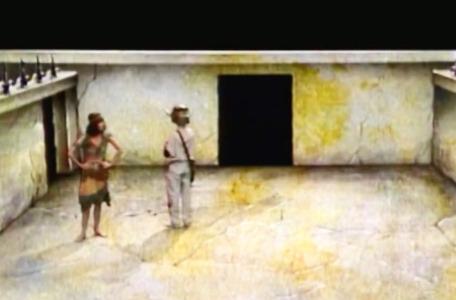
They find Velda locked up in the former Ariadne's Lair. She is feisty, as usual, but they offer to help her.
Treguard: "Decisions here, team. If you use the key, you'll certainly free her, but will she prove grateful? And of course, you'll no longer have the key to use for yourself."
Velda provides information about the use of the spell and the 'second step'.
At the moving wall, they use the GHOST spell to proceed.
Still in his ghostly form, Martin scares off the behemoth guarding the wellway.
It leaves the way clear to descend.
Level 2
After leaping from the Spindizzy, Martin encounters a Catacombite! He is almost caught by a following skull.
The Level 2 clue room contains only food. Martin listens to the Oracle of Confusion and discovers the 'third step'.
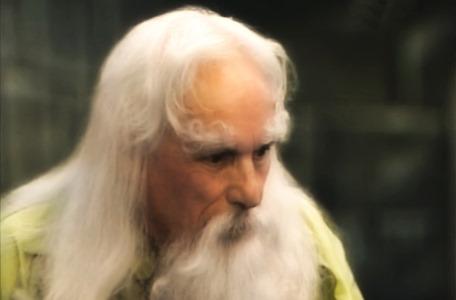
Straight into Merlin's chamber, where they evoke the steps and summon him.
They answer both riddles correct and earn a CURE spell.
Merlin: "It's a sort of universal remedy. You can use it on yourself or on other people. You can even use it to restore energy."
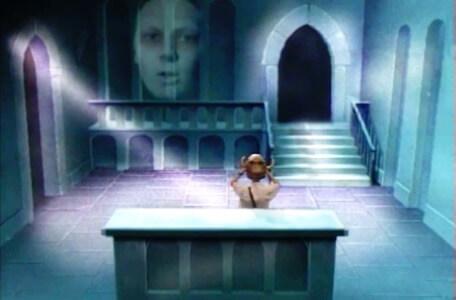
Motley has lost his voice after clashing with Hordriss the Confuser. Mellisandre is trying to help.
Mellisandre: "To cut a short story even shorter, Hordriss cast a spell and made Motley dumb. And now Motley's got to do mimes for a living!"
The team decide to heal Motley by using the CURE spell. He says Martin can call on him for help, provided it doesn't involve goblins, Mogdred or Hordriss.
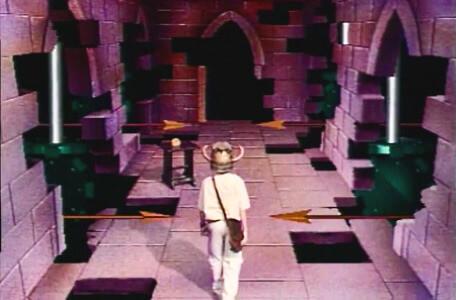
Through the Hall of Spears to the stalactite caverns of Death Valley.
Martin collects a piece of the Chalice and escapes the goblins with ease.
Onto the Minecart room.
Treguard: "A weak force-field guards the mining tunnel. It's strong enough to prevent Martin from walking through it on foot."
Martin summons Motley. Motley helps Martin into the cart and sends him on his way to Level 3.
Level 3
Treguard informs the team about sightings of a hobgoblin.
Treguard: "The good news is, guards are scarce and most of the hostile ones lie behind you in Level 2."
A first sighting of the Level 3 dwarf tunnels, which are beige in colour.
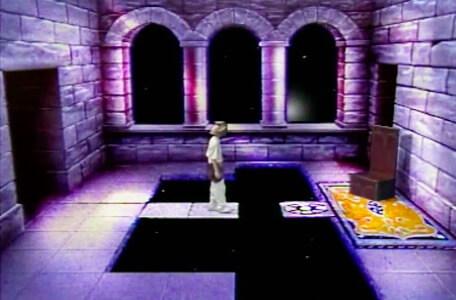
The Level 3 clue room: Martin accidentally picks up a destructor. The room flashes for a short time until he puts it down.
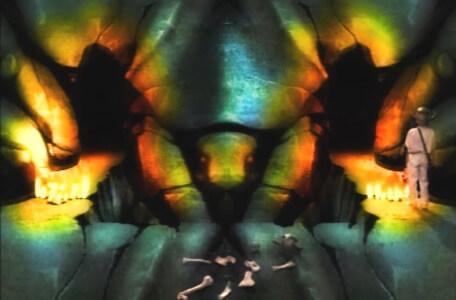
Next, he encounters Owen the Dragon. The team miss out on vital dragon magic as they cannot answer his riddle.
Owen: "If you're ignorant then you've got to remain so - that's what I always say..."
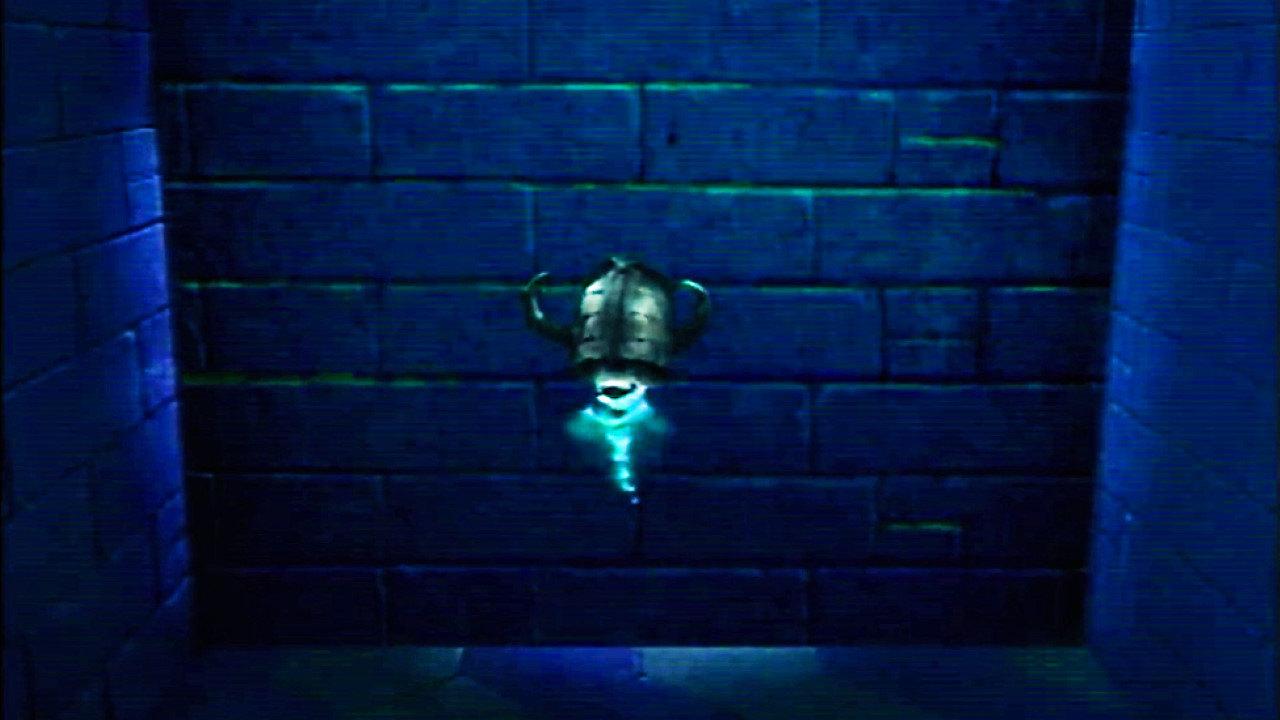
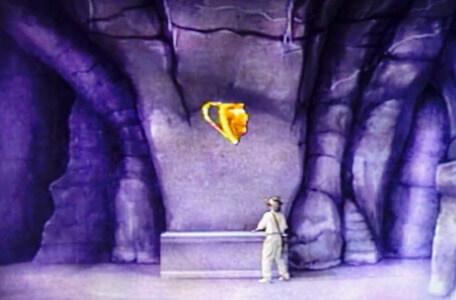
A magic sword guards the 'M' symbol. Laughter can be heard.
Treguard: "Caution, this haunting is sent by Morghanna. Martin must reach the table to summon Merlin."
Martin sweeps his hand across the table (and leaps in shock when Merlin arrives!) Life force status is critical, so Merlin spell-casts ERG!
Merlin: "Morghanna has moved from the old realm into the dungeon via the deeper catacombs. Her nature is fey and her purpose is fell. Do not trust her."
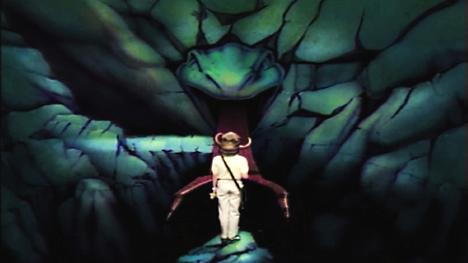
Martin collects the base of the Chalice from a Lair of Kaa. Morghanna's laughter summons the beast, but the team guide Martin out.
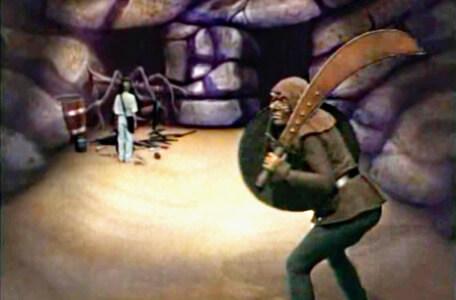
A hobgoblin bounds into the old cavernwight chamber. Martin dashes sideways to escape the goblin charge.
The Egyptian Room has two lynxes. The team quickly recognises the pattern of beams and steer Martin across with little difficulty.
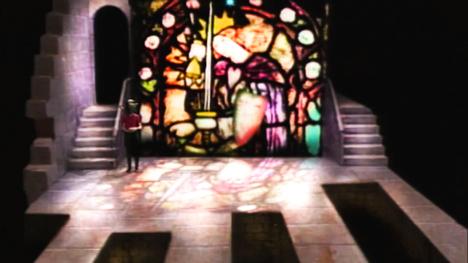
Martin arrives at the Stained Glass room. The path is shown by the final piece of the Chalice.
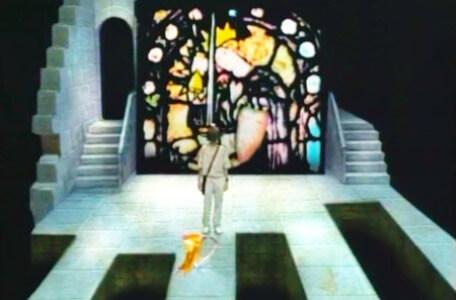
He collects the final piece and proceeds cautiously down the narrow causeway.
Then Morghanna swoops in...
Death
You have been lucky so far, but now my curiosity is exhausted. My delight lies on the dark side, so I stoop to extinguish your flame...
She fires a lightning bolt straight at Martin's head. Very nasty.
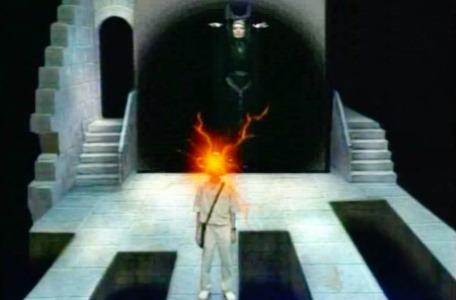
Treguard: "Without dragon magic, I'm afraid you were no match for Morghanna."
Two appearances and two fatalities for the melodramatic sorceress.