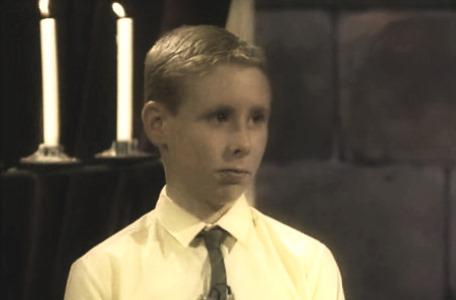
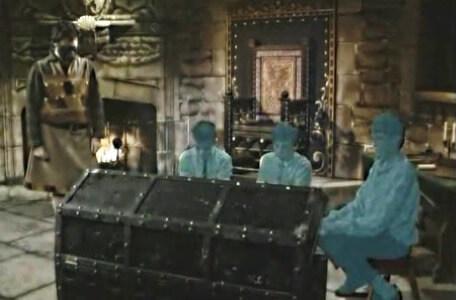
Team 3: Christopher, Kenneth, Paul and Christopher from St Helens.
The third quest of Series 2 was for the Chalice and lasted 30 minutes.
Level 1
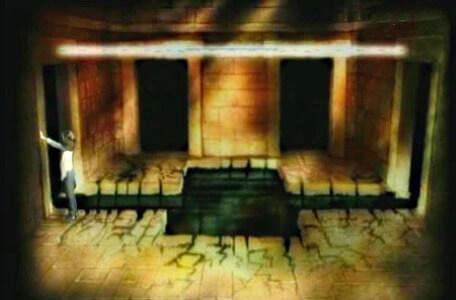
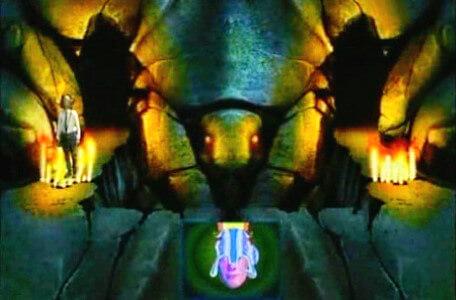
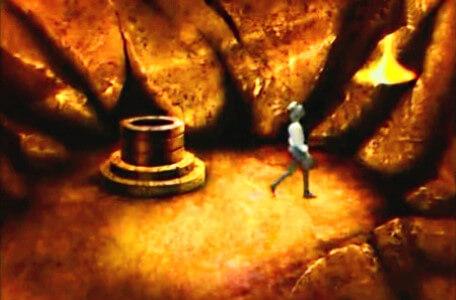
From the Wheel of Fate into an unusual room spanned by a chasm. Christopher must ring a bell to summon a platform so he can cross.
Into the Snake Room. It appears empty until a huge python appears. The team urgently directs Christopher out.
The Level 1 clue room is guarded by Granitas (Score: 2). He says they will need a herbal remedy to reach Level 2.
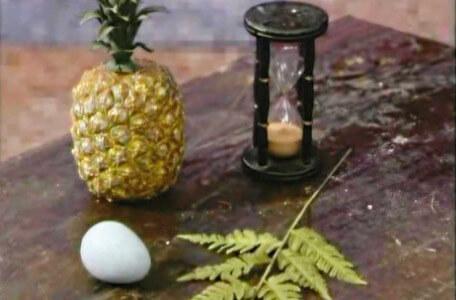
Christopher chooses a large leaf and an egg timer, leaving behind an egg.
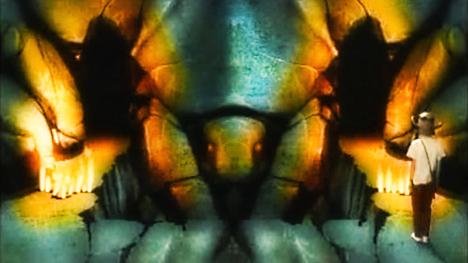
The Scarab Room, where Christopher almost stops in the line of fire.
They encounter Olaf the Viking by a pit of maggots.
Olaf: "Loot, pillage, or worms?"
They choose loot, and hand over the egg-timer, which pleases him.
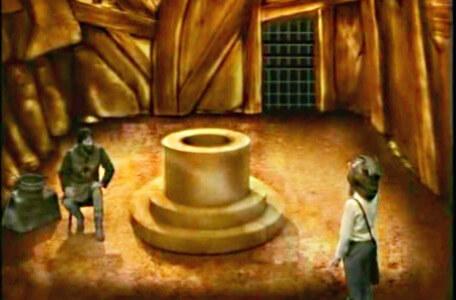
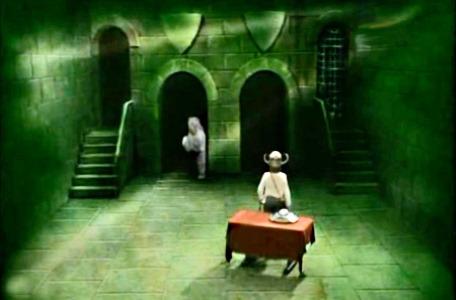
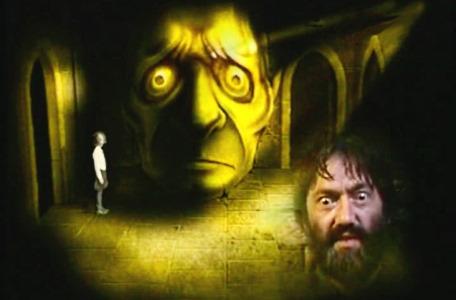
Treguard is sat in what appears to be the wellway room, telling Christopher to get into the well. The team see Treguard under a spell in the antechamber, so tell Chris not to move.
- Treguard: "Mildread, Mildread, cease at once!"
- Mildread: "How does it feel to be a statue then, Sir Treguard?"
- Treguard: "Enough! If you ever attempt magic on me again, I will arrange for you to meet Merlin. Believe me, you won't enjoy it."
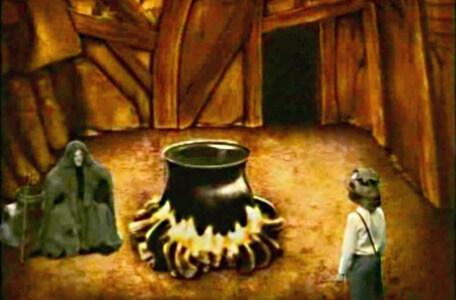
Mildread says the leaf is a sprig of Gravewort. She drops it in the cauldron which becomes a wellway again.
Level 2
Folly is sat beneath the wellway. Christopher sends him tumbling!
They listen carefully to a long riddle, and earn a WEB spell.
Folly: "You've got to be cautious to use magic, but not too cautious."
The Mills of Doom, followed by the Vale of Worms.
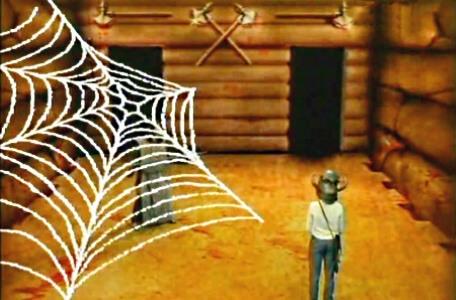
Christopher meets Cedric in the Axe Room. The team has no password to give him, so they hold him with the WEB spell.
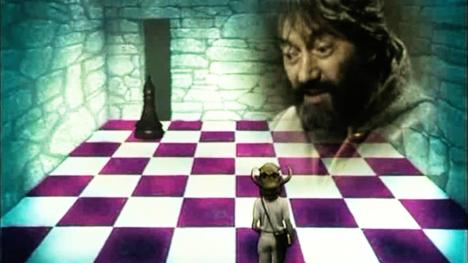
Level 2 clue room. A vision of Mogdred appears.
This is only my image. Continue on this path, and you will meet me in person! That will be interesting now, won't it?
They examine a talisman in the clue room, but it turns out to be a destructor. So, they take the remaining items - a spade and a key.
Into the Minecart Room, where Bumptious the dwarf is setting charges. He demands that Chris hand over the spade as it's against the rules of the guild.
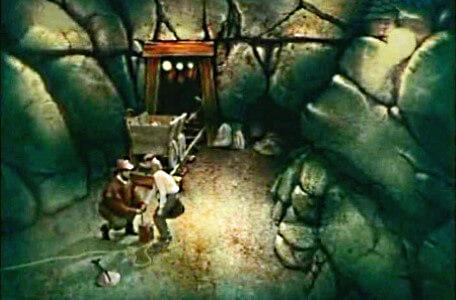
Christopher uses the plunger to blow a hole in the mine, which reveals an exit.
A room with four doors, all of which are blocked except for one which can be opened with a key.
Mogdred's laughter is heard. He begins his chase of Christopher, which continues onto the cliff edge.
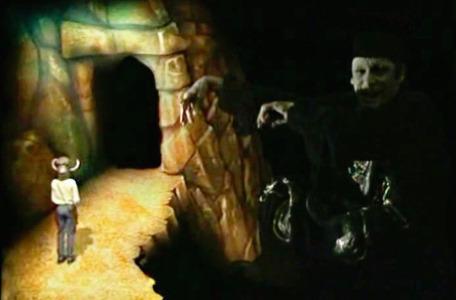
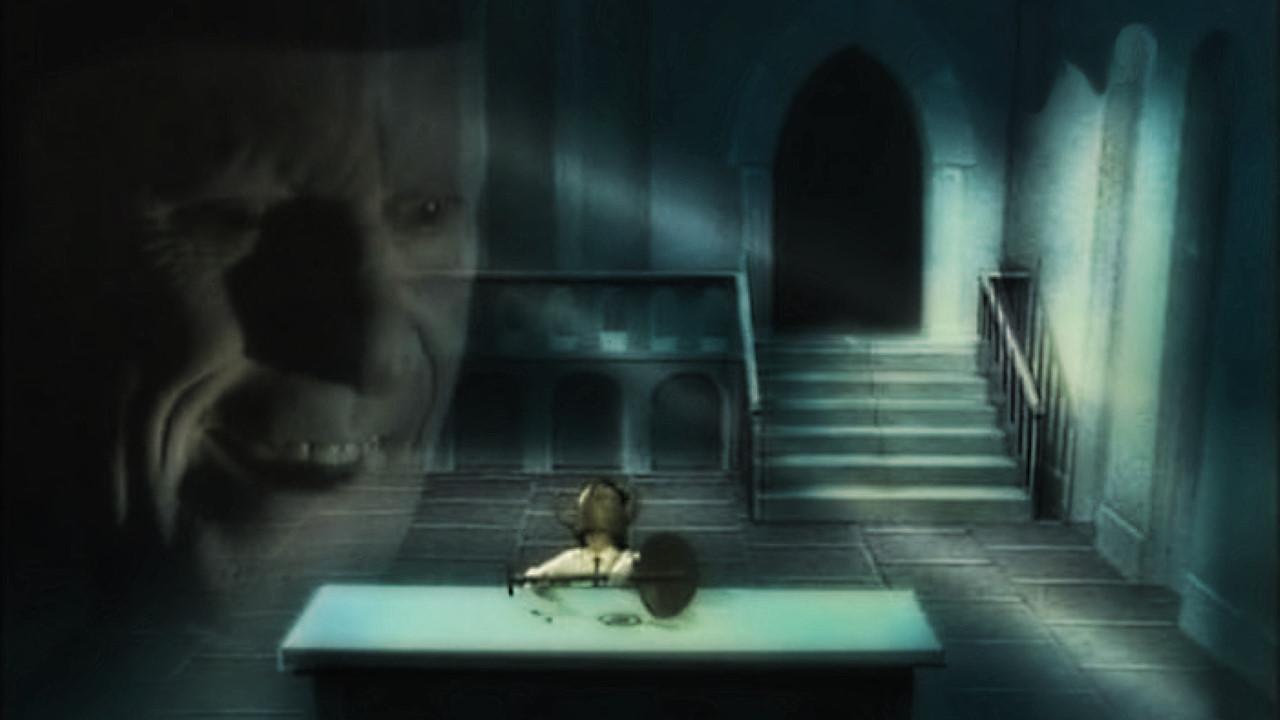
Mogdred: Hello my brave puppet. And hello to you, my brave puppeteers. Would you like to see how Mogdred pulls the strings?
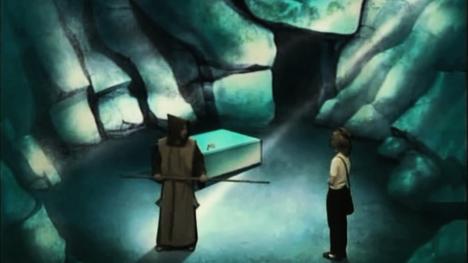
Into the wellway room, where a piece of the Chalice lies on the other side to the wellway.
Mogdred's hand moves in to grab Christopher but they manage to escape in time.
Level 3
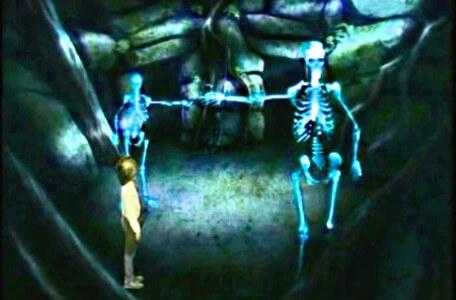
The incidental music sounds and two skeletons stand, forming a guard.
Treguard: "Here, every step is danger, but speed is still essential."
Cavernwights appear, so Christopher has to manoeuvre well to escape. They impressively get through the right-hand door.
The Level 3 clue room. The cavernwights are following, so the team hurriedly chooses a horn and a jewel, leaving behind a shield.
Christopher reaches the Wall of Jericho.
The horn you carry was Joshua's. The wall was brought here from another time, another place...
Christopher blows the horn to bring down the wall.
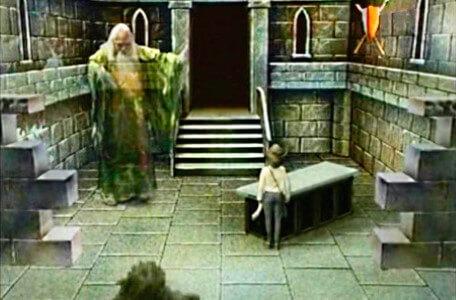
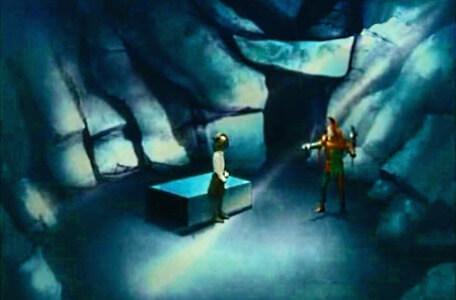
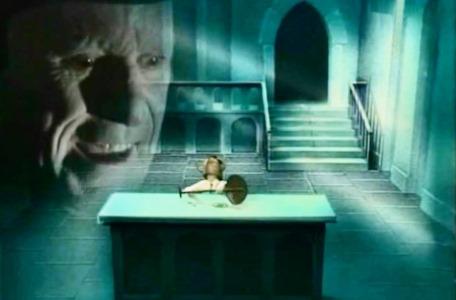
A letter 'M' emerges on the table behind. Christopher summons Merlin, who dispatches the cavernwights and offers a UNITAS spell.
Merlin: "Even when you have all the parts, you must still find the way out and make the parts whole again... Be brave - you have but a short way to go."
A Gargoyle is uttering 'Doom' repeatedly. The team hurry out, on Treguard's advice.
Treguard: "Out, Christopher, or the Gargoyle's pessimism will drain your confidence. It's already having a disastrous effect upon your life force..."
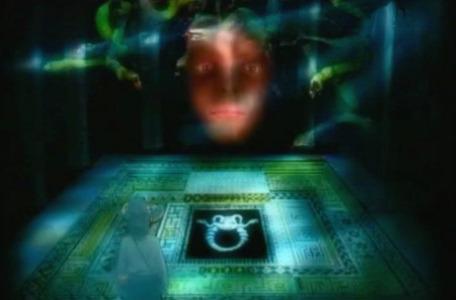
Into the next room, which is dominated by a Gorgon creature.
Treguard: "Christopher is in dire peril, for the Helmet of Justice will only delay the effects..."
Death
It's the Medusa, which turns the whole team to stone. They needed the magic shield from the clue room.
Treguard: "It seems all I'm going to get out of you lot is a stony silence. And as for Christopher, he's certainly no better off."
No life-force death sequence used here, nor does Treguard cast DISMISS.
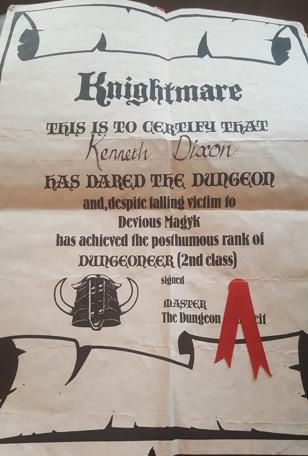
Treguard: "The dungeon defeats you, yet the dungeon salutes you... You have travelled further and braved more than any other team to brave the dungeon so far."
See Kenneth's certificate
Thank you to Kenneth's wife for sharing his certificate on social media in 2016.
The certificates rank each team member as dungeoneers - even the advisors!