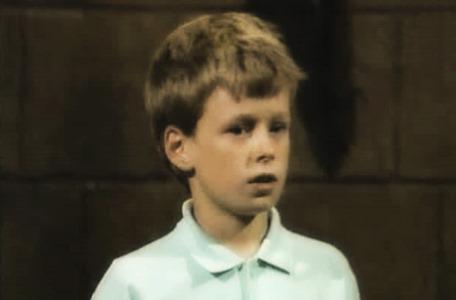
Team 9: Scott, Jeremy, Nathan and Ian from Ash Vale, Hampshire.
The ninth quest of Series 3 was for the Chalice and lasted 28 minutes.
Level 1
From the Dice Room, Scott emerges straight into the Vale of Banburn. Treguard ushers him back onto the path.
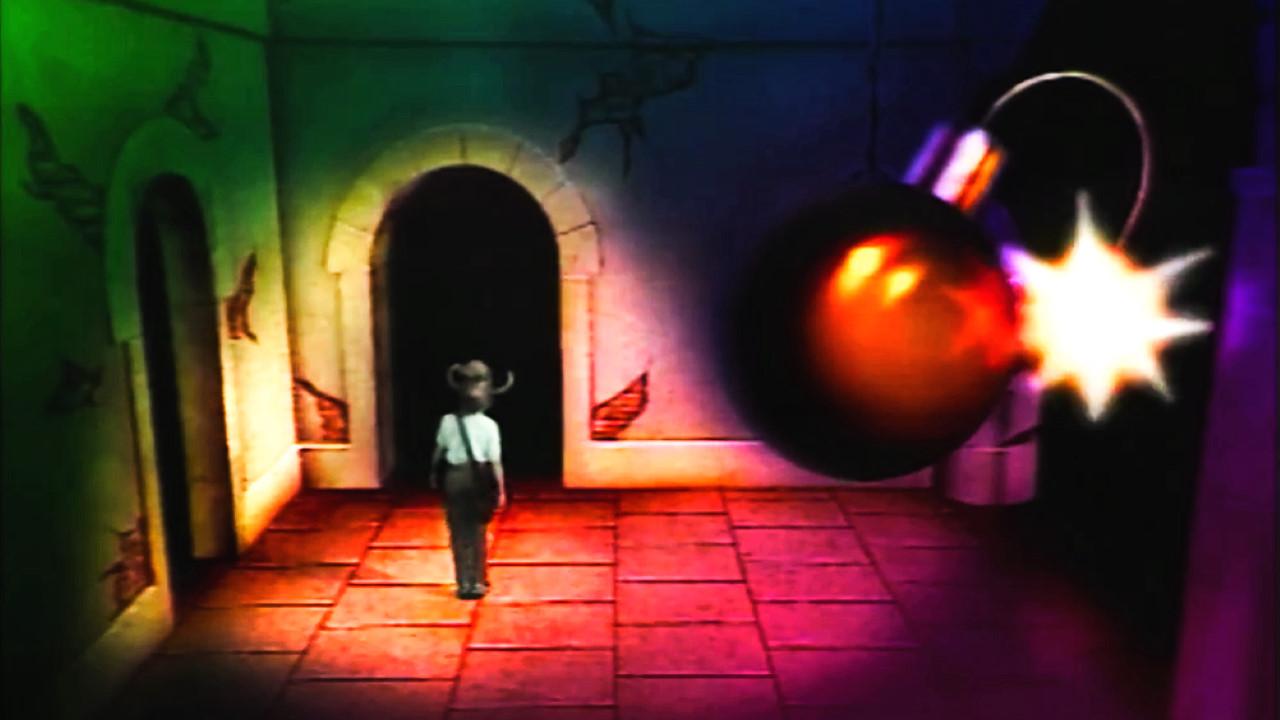
From the valley, they move into a bomb room.
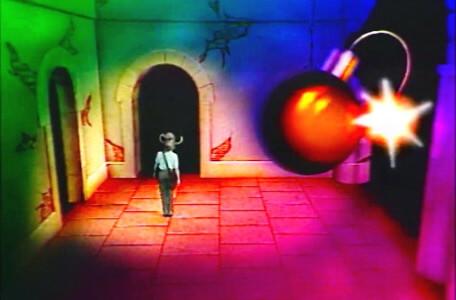
The fuse moves quickly, but Scott escapes in time.
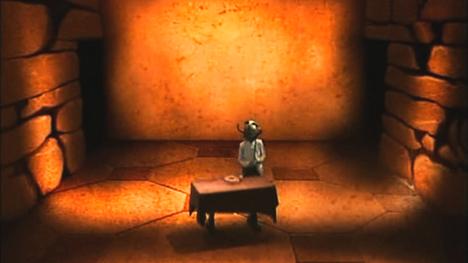
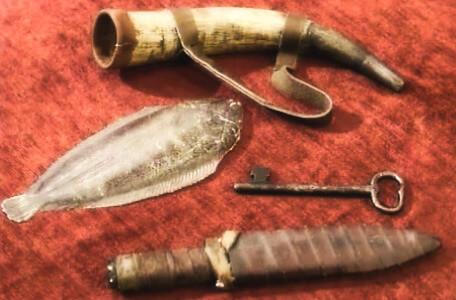
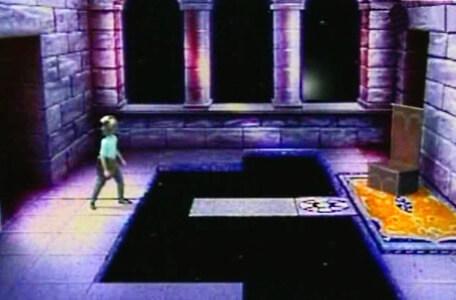
The Level 1 clue room is guarded by Golgarach (score: 1). They earn no knowledge, so take a horn and a key, leaving a dagger.
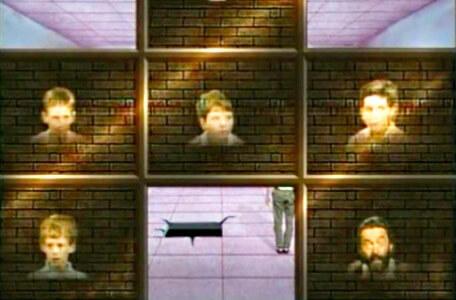
Mrs Grimwold is hiding in the 'four-door room'. The team sensibly decides not to buy a map from her without seeing it first.
Scott mistakes his left from right and can be heard clattering into the wall.
Walking into that wall in Level 1 was an added sound effect. Nicely done, though, I thought.
The first sighting of the lasers from the Lion's Head this series. There's a suspicious cutaway as Scott strides perilously close to the edge.
We actually died in this room. Now, I don't remember exactly what went wrong. They just told us we died and they took us into another room and explained that we were going to get a second chance.
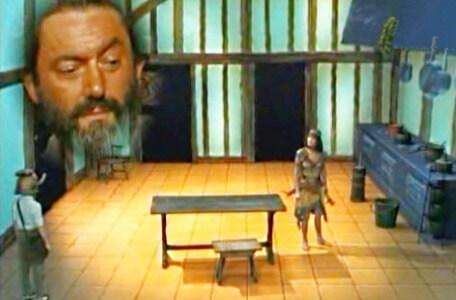
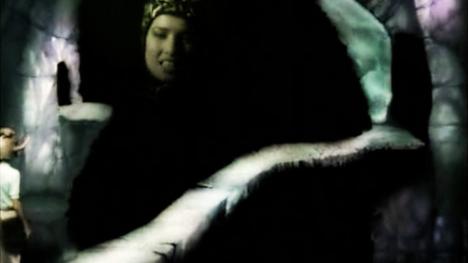
A behemoth stands guard in the kitchen, so Scott blows a horn and summons Velda.
Velda strikes the guard, and rather angrily asks for an explanation. She takes up the matter with Treguard. Her reference to him as "Treguard of Dunshelm" is the first to be heard on Knightmare.
- Velda: You have no right to call upon the elven kin, or to allow these young people to do so...
- Treguard: I merely oversee what happens here, I don't control it. You're probably best taking it up with Merlin...
- Velda: Tell the grey-bearded old fool to mend the breach between this world and ours, or we'll come visiting - all of us.
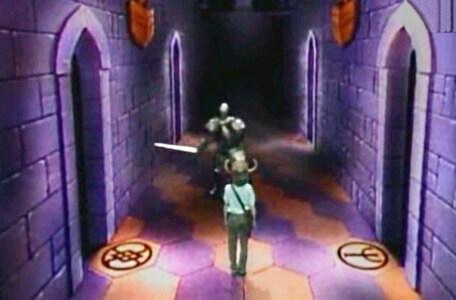
Scott then re-encounters the behemoth in the Corridor of the Catacombs.
After that corridor with the armoured knight I was peeking so much they had to put an actual blindfold on me!
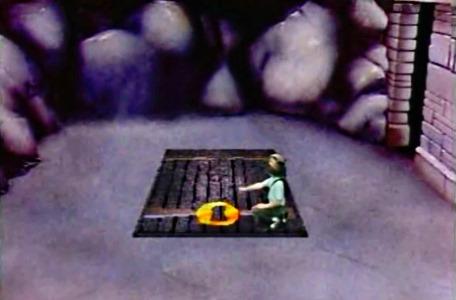
Instead of a wellway, they find a trapdoor with a floating keyhole. This proves to be their route into Level 2.
Level 2
The team mistimes Scott's jump off the Spindizzy and faces an additional puzzle. Scott must choose two faces to reveal the exit.
I'm afraid you've taken the wrong path. And just to prove it, here's an additional hazard. It's one of Merlin's little tricks.
Scott chooses Treguard at random, before the team recognise the benefit of choice and direct his second pick. The right side of the room becomes visible.
The Level 2 clue room contains no clues, but the Oracle of Confusion provides the 'second step'.
The raven provides the 'third step' - sounding more threatening on this occasion.
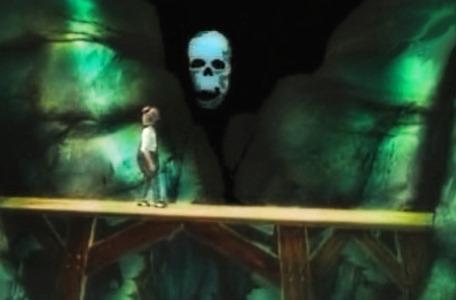
Onto the Vale of Mogdred, which is haunted by skulls. Scott suffers life force damage as he tries to cross.
Into Merlin's chamber, where they have the second and third steps, but not the first.
With life force critical, they prepare to jump the gap...
Death
Scott jumps brilliantly, but his follow-through takes him over the edge.
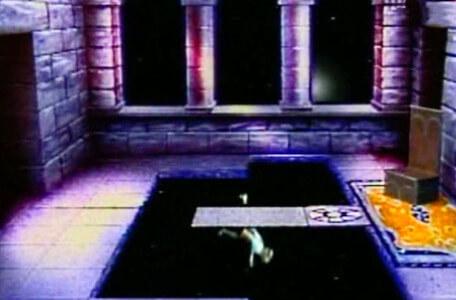
Treguard: "A brave leap, but a tragic fall..."
Hear from the team
In 2003, Scott posted on the forum (username: Scott_Series_3) with behind-the-scenes insights about his quest.
On the quest
My quest was a bit of a mess as I was mega young (11) and appeared on the hardest series of the lot.
But at least I was in between two other quests that were just shocking! Douglas died in five mins, and Julie who was after me died with her adviser saying one of the dumbest things I've ever heard!
On the death sequence
If you listen real careful you can hear my advisers telling me to walk forward after I landed. That's what got me... Not my fault at all :)
When I died, they just said "stop, you're dead". Unsurprisingly I didn't suddenly turn 2D, fold up and flutter down the hole like a piece of paper as the death scene would have you believe.
Funny part is that when we were back in the room after I had croaked, Merlin came wandering in and gave us a telling off for making him spend an hour in makeup for nothing.
In 2022, Scott was a guest on the Temporal Discussion podcast with more behind-the-scenes insights about his quest. He explained how the team were given a second go at the Lion's Head and lasers room and clarified that the blindfold he was later made to wear under the Helmet of Justice was "a children's party mask".