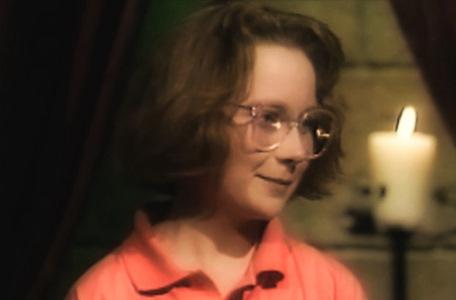
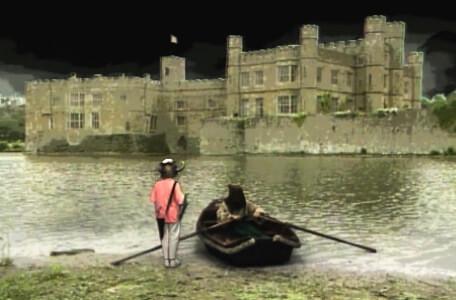
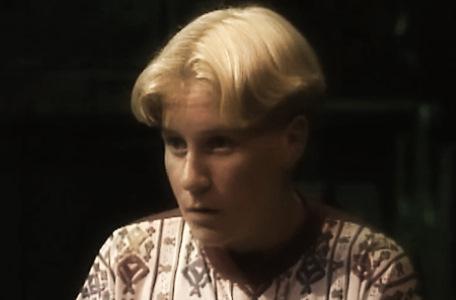
Team 1: Helen, James, Rachel and Craig from Sunderland.
The first quest of Series 4 was for the Cup and lasted 48 minutes.
Pre-quest
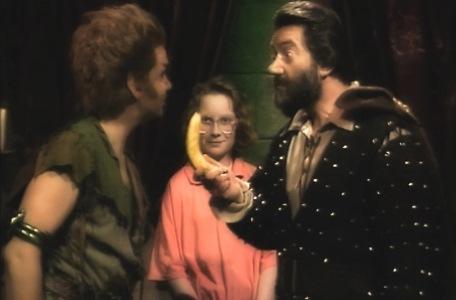
Treguard finds a banana in the knapsack. He warns Pickle about aiding the dungeoneer.
From this moment on, your friends must be your eyes. You may only see where your feet have taken you and no longer where the pathway leads...
Level 1
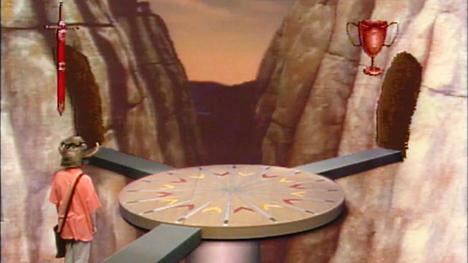
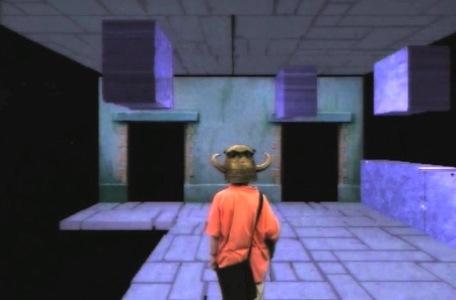
Helen begins on a narrow ledge above a valley. A revolving disc leads to two pathways bearing quest symbols. Pickle names this 'the place of choice'.

Helen crosses the disc a little aimlessly but exits perfectly off the other side.
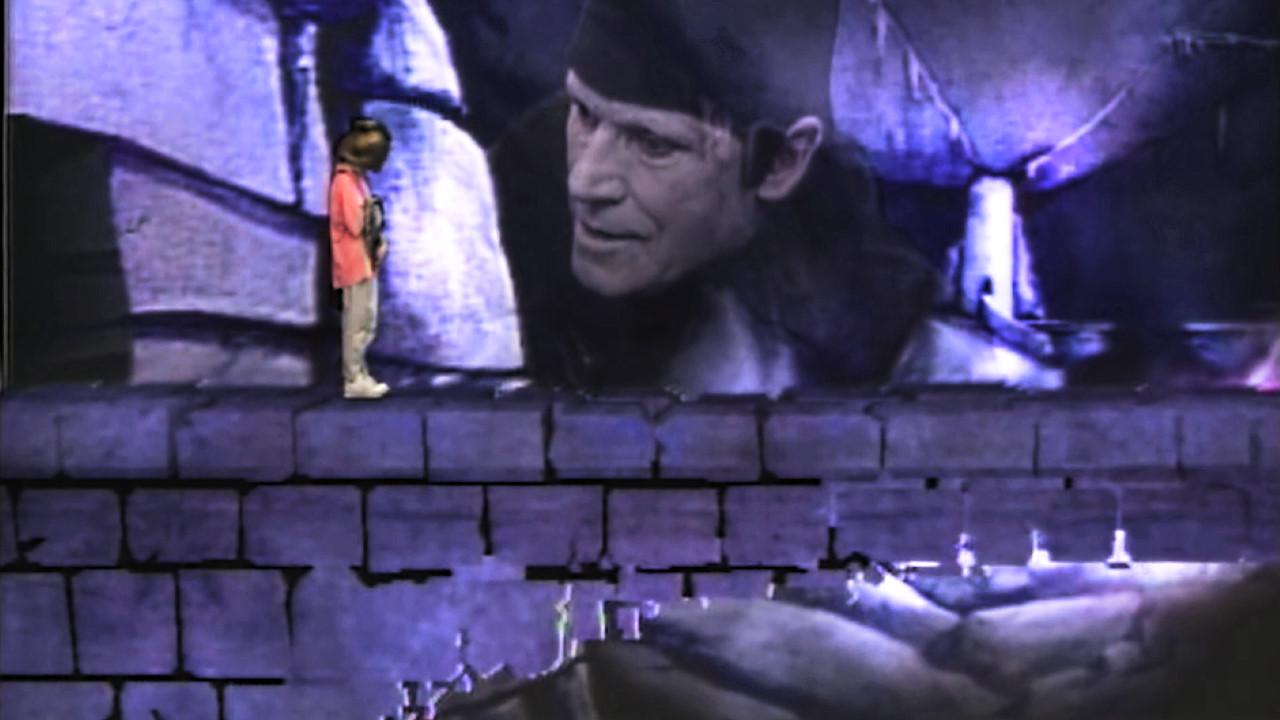
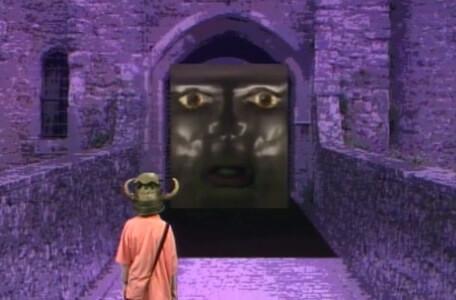
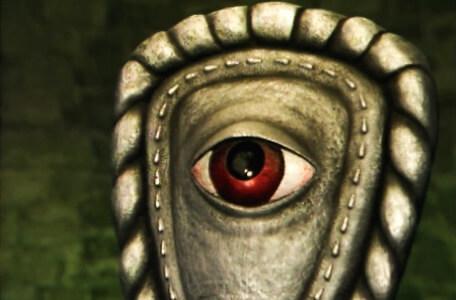
She arrives at a raised drawbridge. A weeping face appears. Treguard introduces it as Dooris.
Treguard: "Truth will open it, and that's the only key that works."
Pickle teaches the team a 'calling'. This provokes a trial of 'true/false' questions.
The team score 3 and the drawbridge descends.
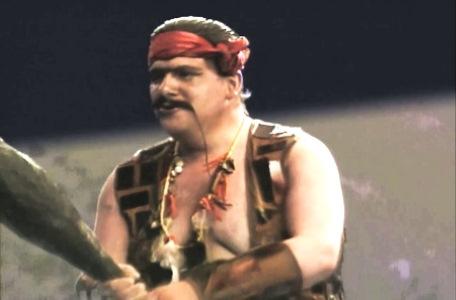
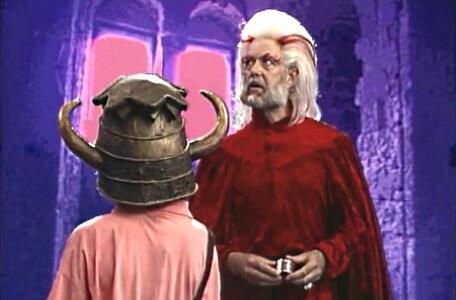
Into a green room, where Hordriss the Confuser waits at a table.
Treguard: "[Hordriss] stands neither to the right nor to the left. Doubly dangerous, therefore, for being neither good nor bad, he doesn't even acknowledge the difference."
Helen agrees a pact with Hordriss to find an object for him. In return, he allows her to take a shield.
- Pickle: "'Tis the Eye Shield, master... the shield that can see for itself. That's a bonus to any quest."
- Treguard: "A very valuable artefact, team, but a risky thing to bear in like all magic objects it does tend to attract the opposition."
Once Helen wears the Eye Shield, we see video footage of her progress between areas of the dungeon.
It may take some time to make best use of its powers. For it to work best, it must get used to its wearer.
The Eye Shield shows footage of a forest pathway. Treguard remarks that the dungeon is constantly growing.

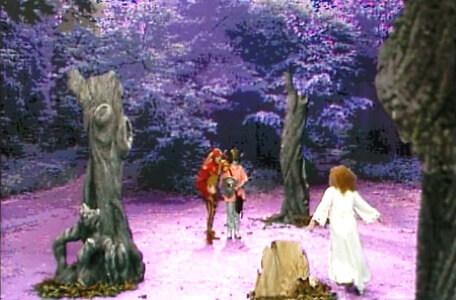
Helen arrives at a clearing. Motley the Jester and Mellisandre the Maid are playing chase.
Under threat from an approaching band of goblins, Mellisandre takes a route around the tree stumps that makes a hidden exit available.
Helen must follow to escape.
Into another clearing with an old oak tree and a stump containing clues.
The tree develops a face. Pickle describes it as a type of tree troll that may be known as Oakley.
It tests Helen with three questions (score: 2)
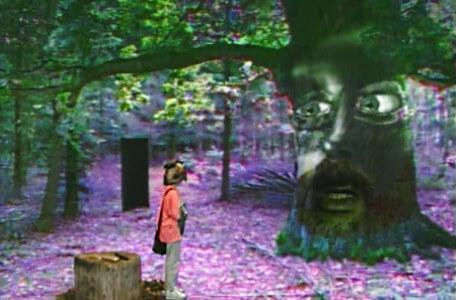
Following Oakley's advice, Helen takes a gold bar and a dagger, leaving behind a key.
She approaches a castle, which Treguard names the Fortress of Doom.
Helen bribes a dim-witted guard with gold to gain entrance.
A moving conveyor belt takes Helen to a wellway room, where an armoured guard is waiting.
Helen draws the dagger to make herself invisible.
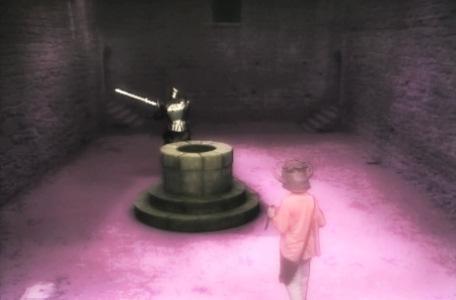
It disorientates the guard as she climbs into the well.
Level 2
Helen lands in a large cavern, where goblins swoop in. Pickle offers to help but is stopped by Treguard.
A warrior comes to Helen's assistance, and the goblins run off.
She introduces herself as Gundrada, the Sword Mistress.
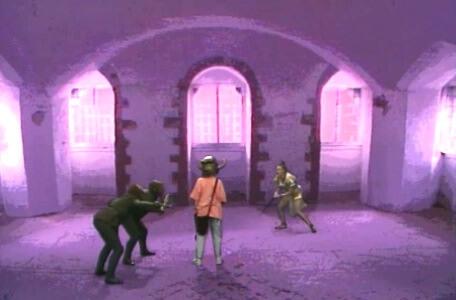
Gundrada: "Some try calling me other things, but they're not alive anymore."
She leads Helen to a stone courtyard with clues. Gundrada has her pick of the loot, before allowing Helen time to choose.
Gundrada identifies one of the items as a 'reflector', which is used to find elf paths. Helen takes it and a bar of silver.
In the adjacent chamber, a man in a monk's habit begs to be released from the stocks. Gundrada gives him short thrift and runs off.
Helen releases him - it's Merlin. He provides advice about the path through Level 2.
Merlin: "It's good to know that you can display compassion, Helen, because without compassion, the game's not worth the winning!"
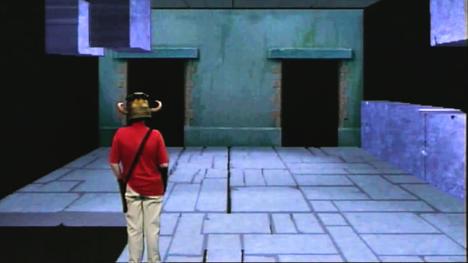
Into a blue room with two exits. The wall panels begin to move across the room and the floor begins to fall away.
Treguard: "Nothing here is stable. Timing is essential."
The team exit successfully down the right side.

Into a room with a large chasm, and another weeping door, Doorkis (score: 2).
Helen exits via a drawbridge.
She enters a forest clearing, which Pickle identifies as Dunkley Wood.
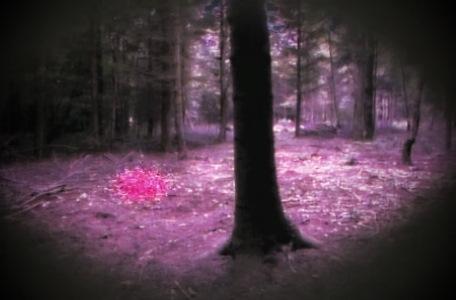
The reflector finds an elf path for the Eye Shield to follow.
In a further clearing, a monk emerges. He introduces himself as Brother Mace, a 'tavern monk'.
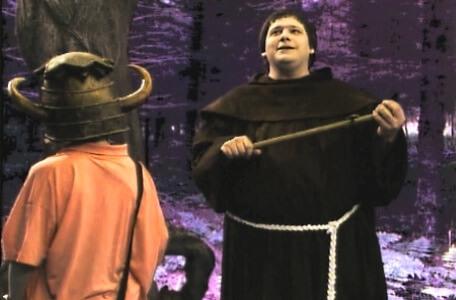
Brother Mace: "Would you believe it? We are sworn to insobriety."
Helen answers his riddle and earns a spell: FREEZE.
She enters Ariadne's Lair.
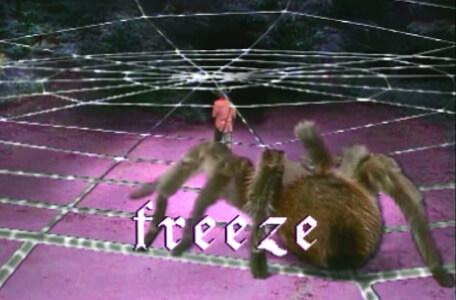
The team spell-cast FREEZE to pause the arachnid. Helen collects gold and escapes.
At the bank of the Dunswater, a boatman asks for silver and gold to take her across.
They arrive at the Tower of Time.
The Eye Shield shows a long staircase which takes Helen beneath the fortress.
Level 3
In a circular room with a table, Helen finds food and a brass bracelet.
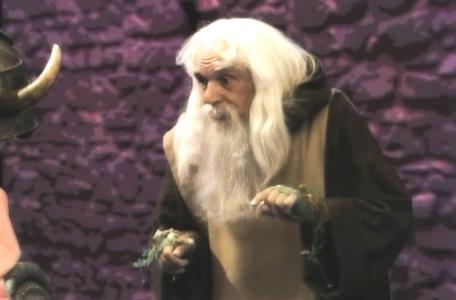
She summons Hordriss by calling 'Malefact'.
He gifts Helen two spells: TRANSFORMATION and BUT.
Hordriss: "Something rather powerful is about this place and discretion demands one's absence."
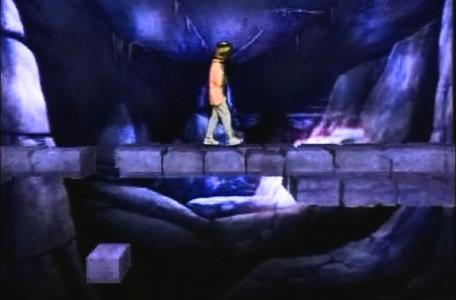
Helen reaches a narrow bridge over a large chasm.
Treguard: "Something most unpleasant is about to make its presence felt."
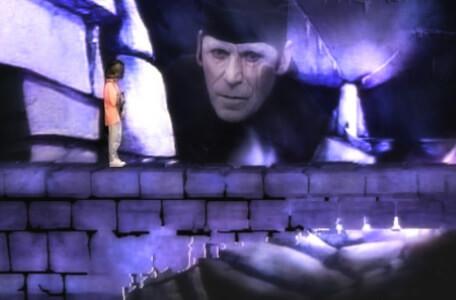
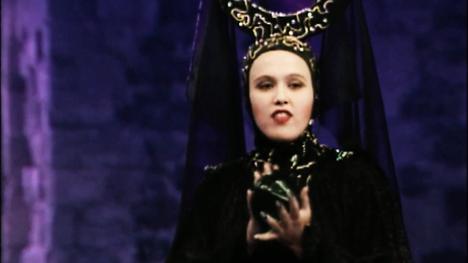
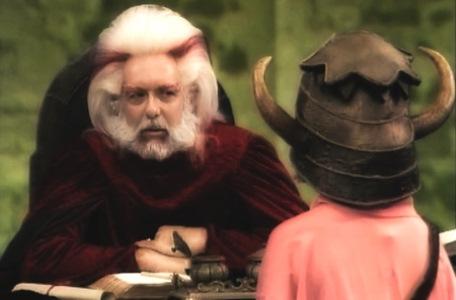
The face of Mogdred appears. He asks Helen to pledge allegiance to him, which she refuses.
You are too proud. You ride too high, which means you're ready for a fall...
Helen proceeds cautiously but accelerates once the team realise that the bridge is crumbling.
Death
Into another circular room, the tall spectre of Mogdred appears, with a magic sword.
Mogdred: "Prepare to receive the doom of Mogdred."

Rachel begins to spell-cast TRANSFORM, but Mogdred's sword reaches Helen first.
Treguard: "Your magic was too long. What you needed here was the shorter spell."
Hear from the team
Following his Knightmare experience, advisor James went on to study in Norwich at the University of East Anglia.
Ahead of the Knightmare Convention in 2014, he spoke to BBC Radio about his time on the show.