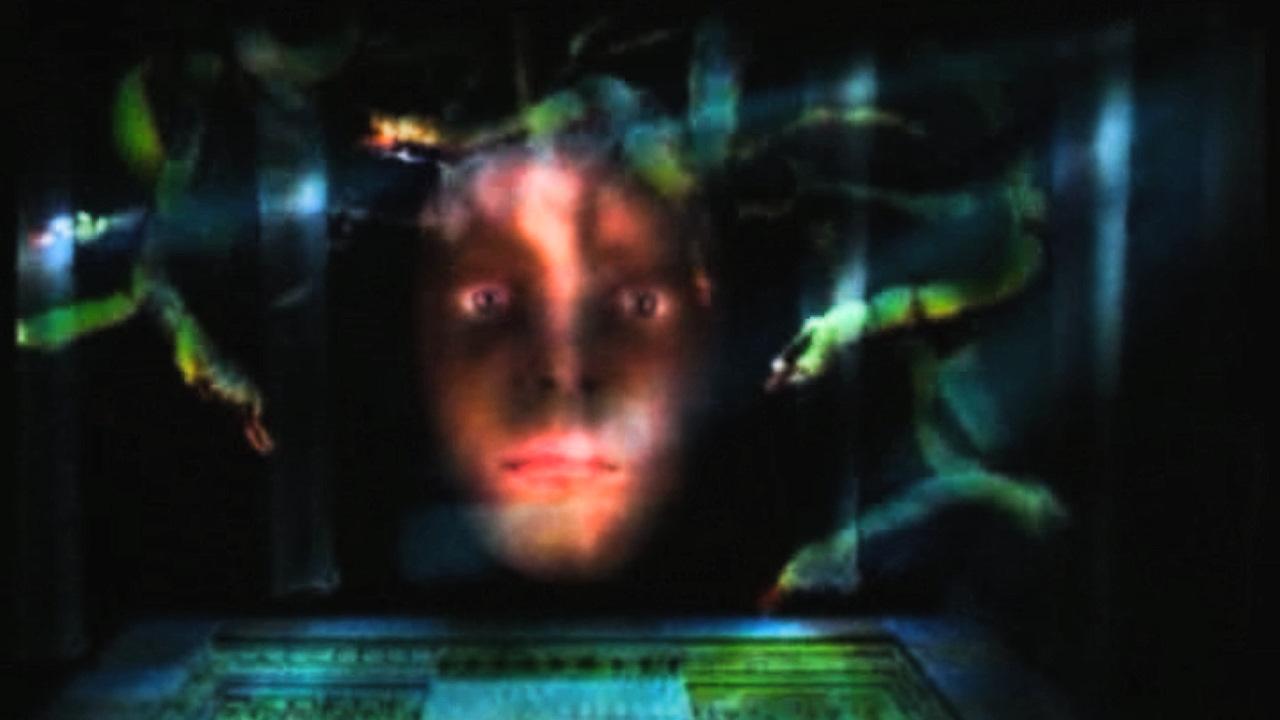
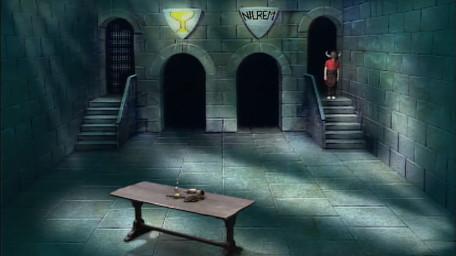
Level 3 of the Series 2 dungeon included the Stained Glass Window, the Medusa, and our first glimpse of the end of the dungeon.
Skeleton Room

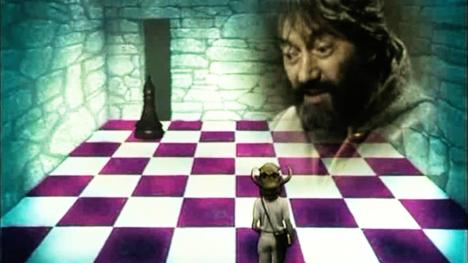
Gargoyle Room

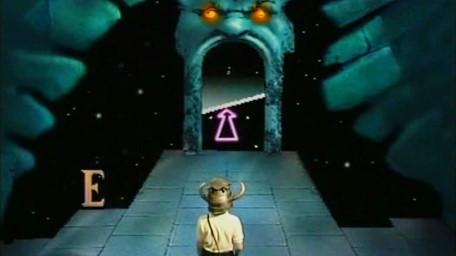
Level 3 Clue Room
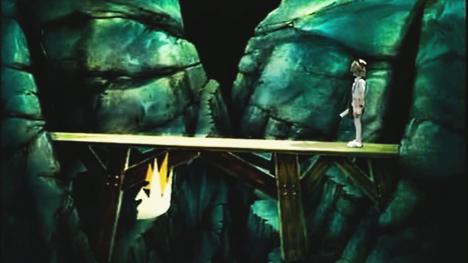
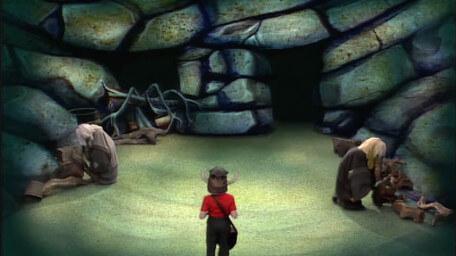
Cavernwight Cavern
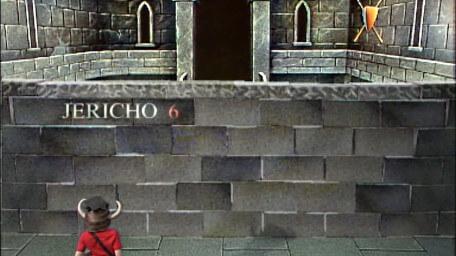
Wall of Jericho
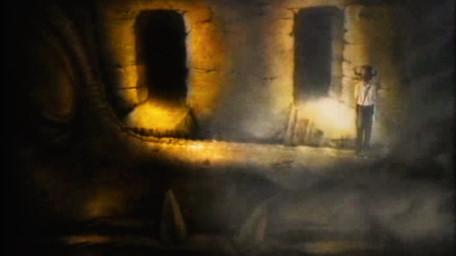
Medusa

Dragon Room
Stained Glass Window
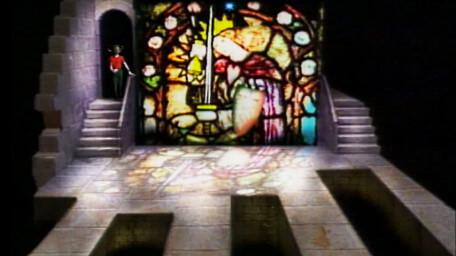
More about the Stained Glass Window
Guillotine